
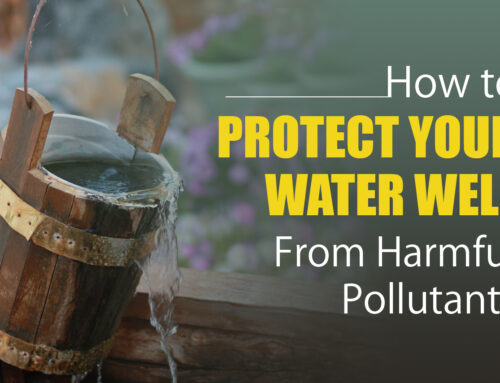
Well water is a key drinking source for people in the United States. In fact, an estimated 13 million households rely on wells for their drinking water.
And that means contamination can be disastrous.
We’re here to help. We’ve simplified well inspection to make well water testing easy. Read on for an easy well inspection checklist.
The Importance of Well Inspection
Since clean drinking water is essential, it’s crucial to check well water. And recent studies found harmful contaminants in as much as 23 percent of private wells.
It’s recommended that homeowners do well water testing several times a year. And they should do a water well inspection immediately if there is suspicion of contamination. Here are some instances when immediate well inspection is advised:
- If there has been major flooding or land disturbances in the area
- If a part of the well system has recently been replaced or repaired
- If there’s a change in water odor, color, or taste
With those warning signs in mind, here is a well inspection checklist:
Check the Well Type
Some types of wells are more vulnerable to things like drought or contamination. That makes it smart to know what well type is sitting on the property.
Here are the three main well designs:
- Shallow wells that are dug
- Bedrock wells that are drilled
- Gravel wells that are drilled or dug
Check the Cover
Well covers can keep things like animals, snakes, or insects out of the water source. That means they should be checked for cracks or breaks.
It’s also a good idea to make sure the cover is securely attached and sealed with a gasket or o-ring.
Add Chlorine or Bleach
The first step in cleaning a well is adding chlorine or bleach. This will sterilize the well.
But homeowners shouldn’t add water softeners prior to putting in chemicals. That’s because they can make chemicals ineffective.
Circulate the Bleach
After the bleach is inside, it needs to work its way through the whole system. A good way to do this is to turn on a garden rose and run it in the well until bleach can be smelled.
Next, turn on each tap until that bleach smell comes out again. It’s a good idea to run water for 20 to 30 minutes to kill bacteria.
Cleanse the Aquifer
Do this by filling buckets with the chlorinated water from the step before. Next, dump the buckets in the well.
This will raise the water level and cause it to flow back into the aquifer. That makes sure this part of the system is cleaned out.
Shut Down the System
It’s important to turn off the system and give it a rest. This means it’s smart to try not to use water for around eight hours if possible.
One option is to turn it off and leave the system off overnight.
Flush and Test
After the chemicals have set in, it’s time to flush them out. An easy way to do this is to turn on an outside faucet and run it until the bleach smell is gone. This usually takes several hours.
Finally, before moving on, make sure to check the well water and test it using a professional kit.
More in Water Safety
This well inspection checklist should help well owners clean and check well water. And we can make well testing in Arizona simple.
Check out our testing site here to tap into the services of our professional technicians.
___________________________________________________
Are you concerned about what is in your well water? Empire Pump specializes in well inspection services in Arizona. Call 623-582-5069 now to schedule an appointment or to have your questions answered!
